Carolina Adapts Toys for Children (CATCH)

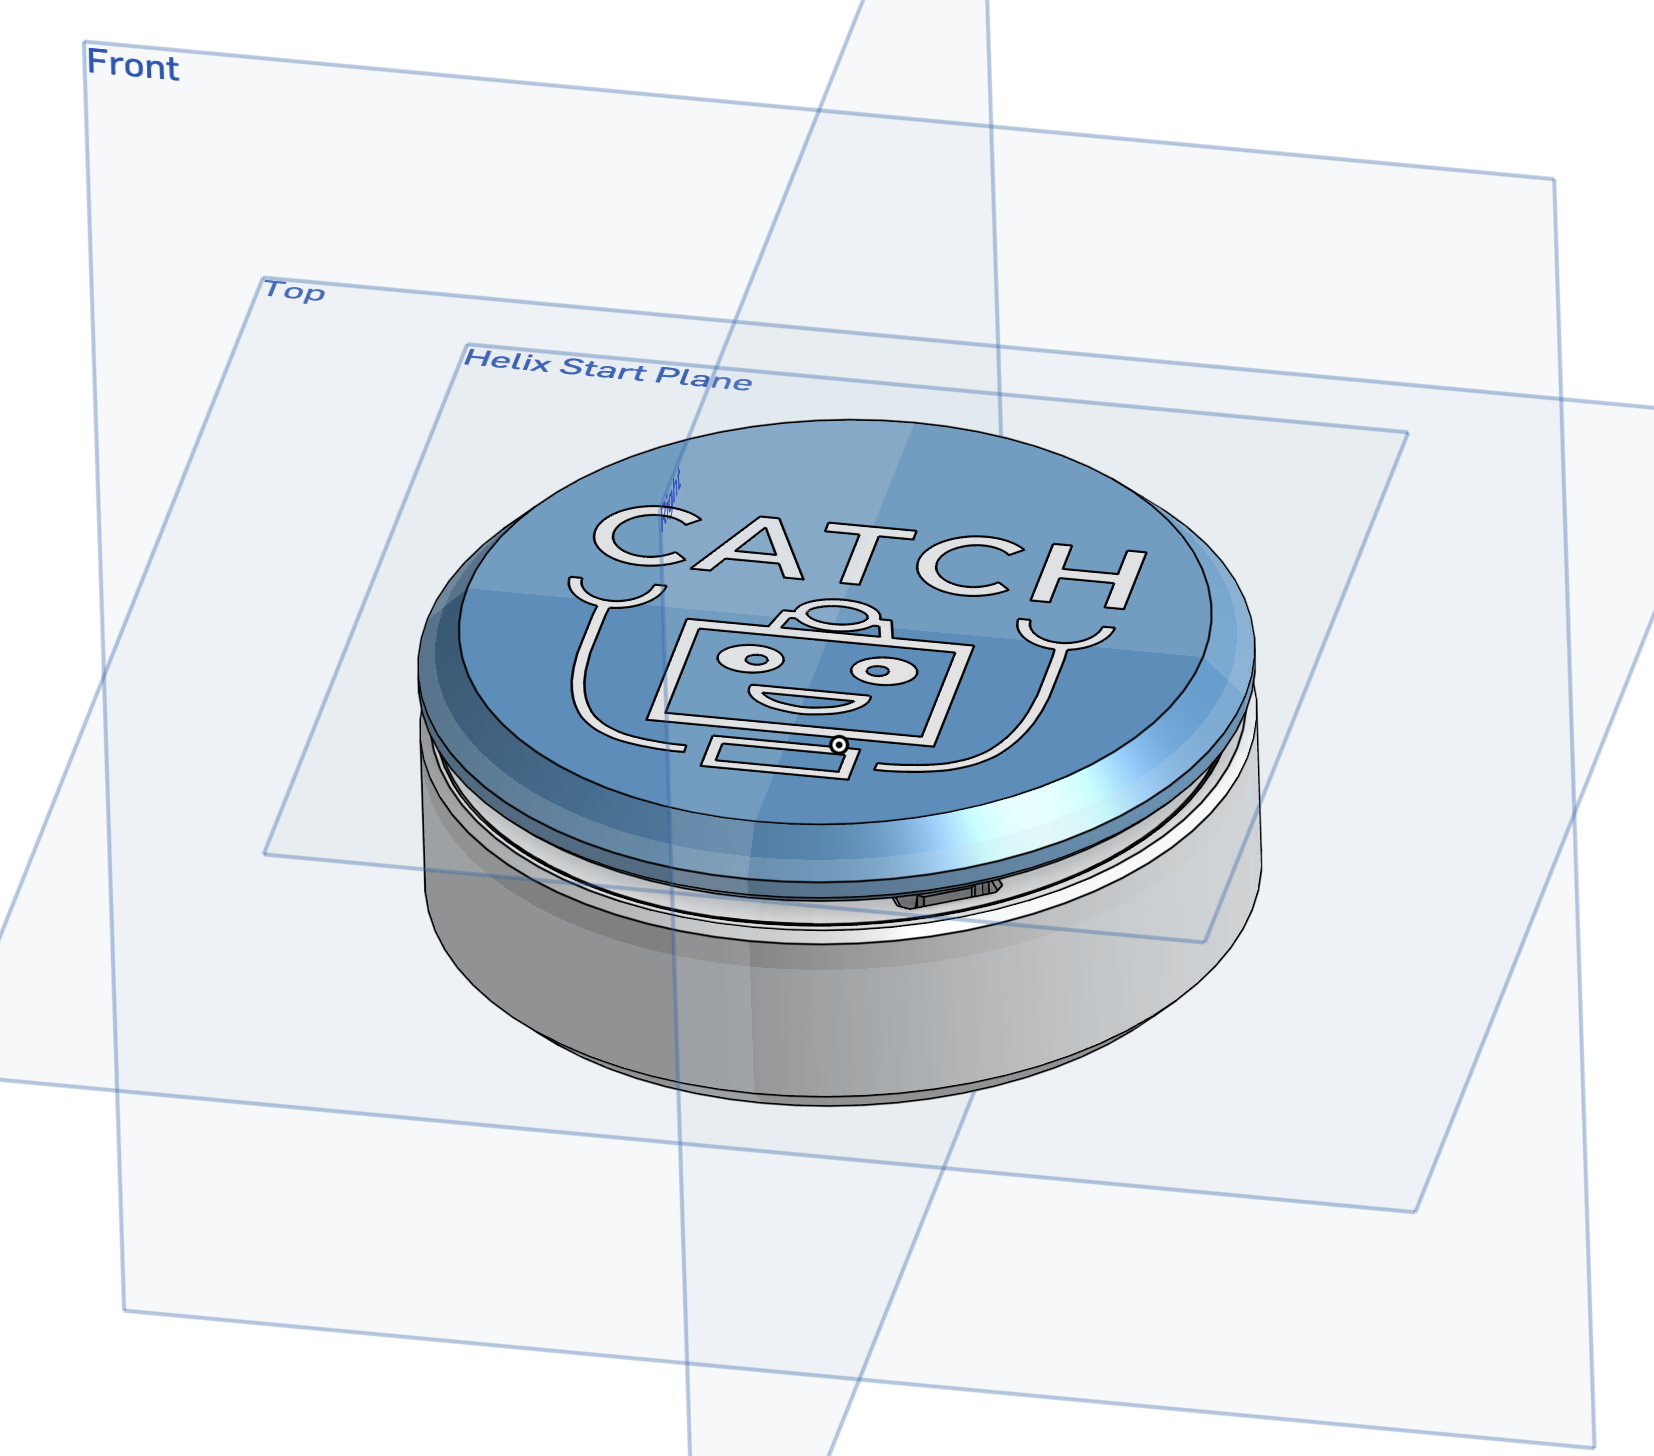
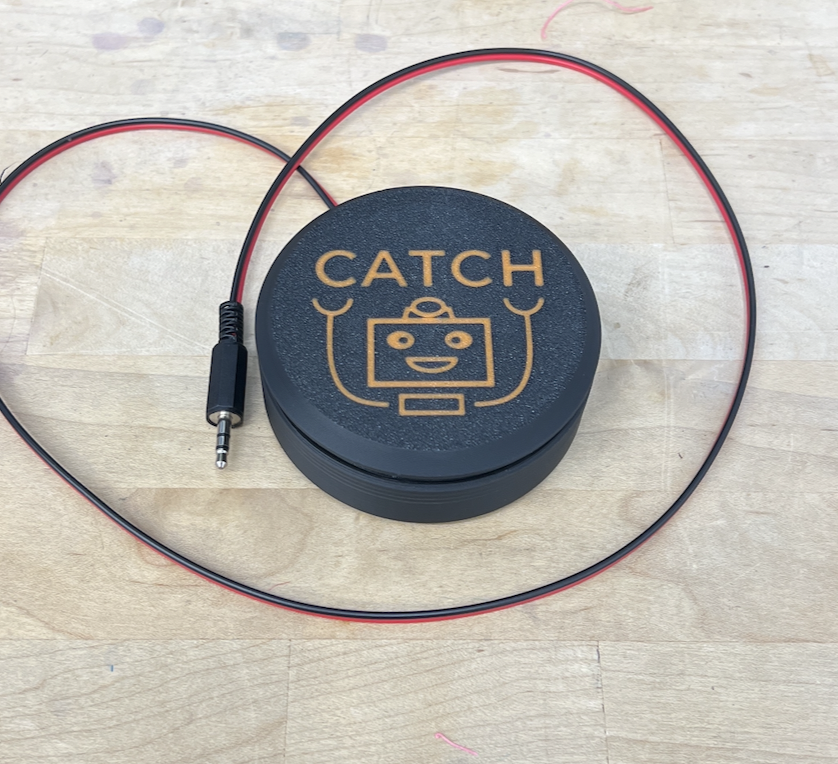
As Chief Technical Officer, I developed a completely 3D printed and open-source accessible button design. We use this button design for all of our current accessible toys that we donate to centers around the triangle.

Need

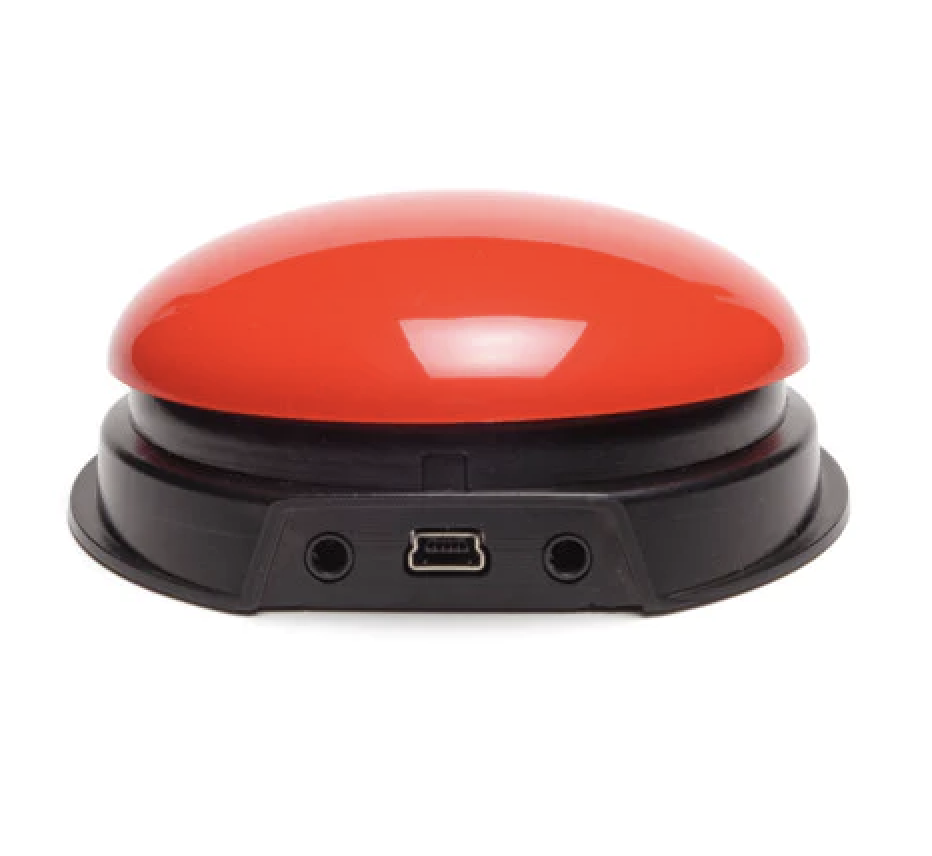
Most accessible button designs availible for consumers are prohibitively expensive, with some that cost $75 for a single button. CATCH has been working on a 3D printed version to be used with our adapted toys, but they had so far been unusable for children, as they were not sensitive enough nor robust enough for everyday use.
Iterative Design Process

Beginning with a button I designed for lateral force application, I noticed a feature that allowed the mechanism to displace vertically. By designing my next button around this feature, I started to get an idea of what designs could work. Taking advantage of the ability of 3D printing to produce prototypes within hours, I designed and printed many tweaks to the mechanism before creating one with the perfect amount of pressure and displacement required.

Production Method

A large consideration during design was placed on the ease of production. This includes the ease of printing the components and assembling the circuitry. I designed the button from the ground up to take advantage of 3D printed threads that would print without support. Additionally, I made the moving mechanism print in place, so no assembly was required. Wiring was one of the most intricate parts of the design, so I designed the button to use crimp connectors instead of soldering directly to the switch module.

Next Steps

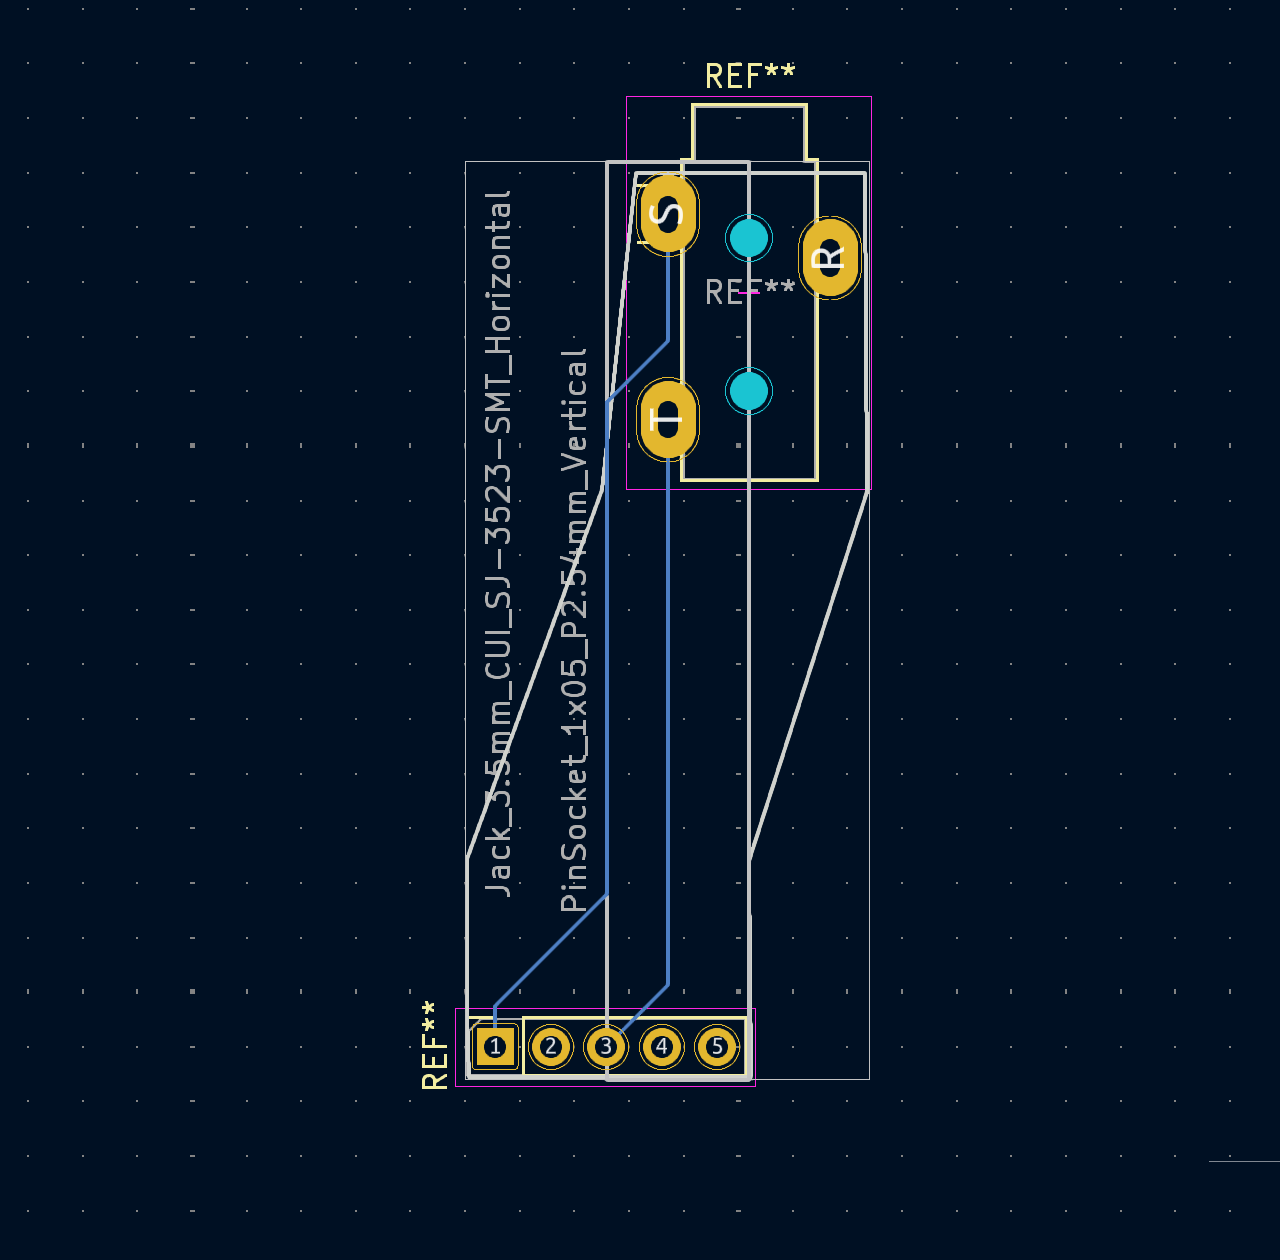
It is always a goal to improve the speed and ease of assembly, as well as the output of finished buttons. That is why I am focusing on developing a custom PCB that would mount the required components for the button internals. This will hopefully allow for faster and easier assembly while also exposing members to PCB soldering techniques.